


How to label your favourite wedding photos for an album

This is a step by step guide on how to select & label your favourite images for an album. Below are screen grabs from a wedding gallery where I guide you through the labelling process.
Step 1
Log in to your client gallery using your email address and your access code. This information would have been emailed to you with your gallery link.
Step 2
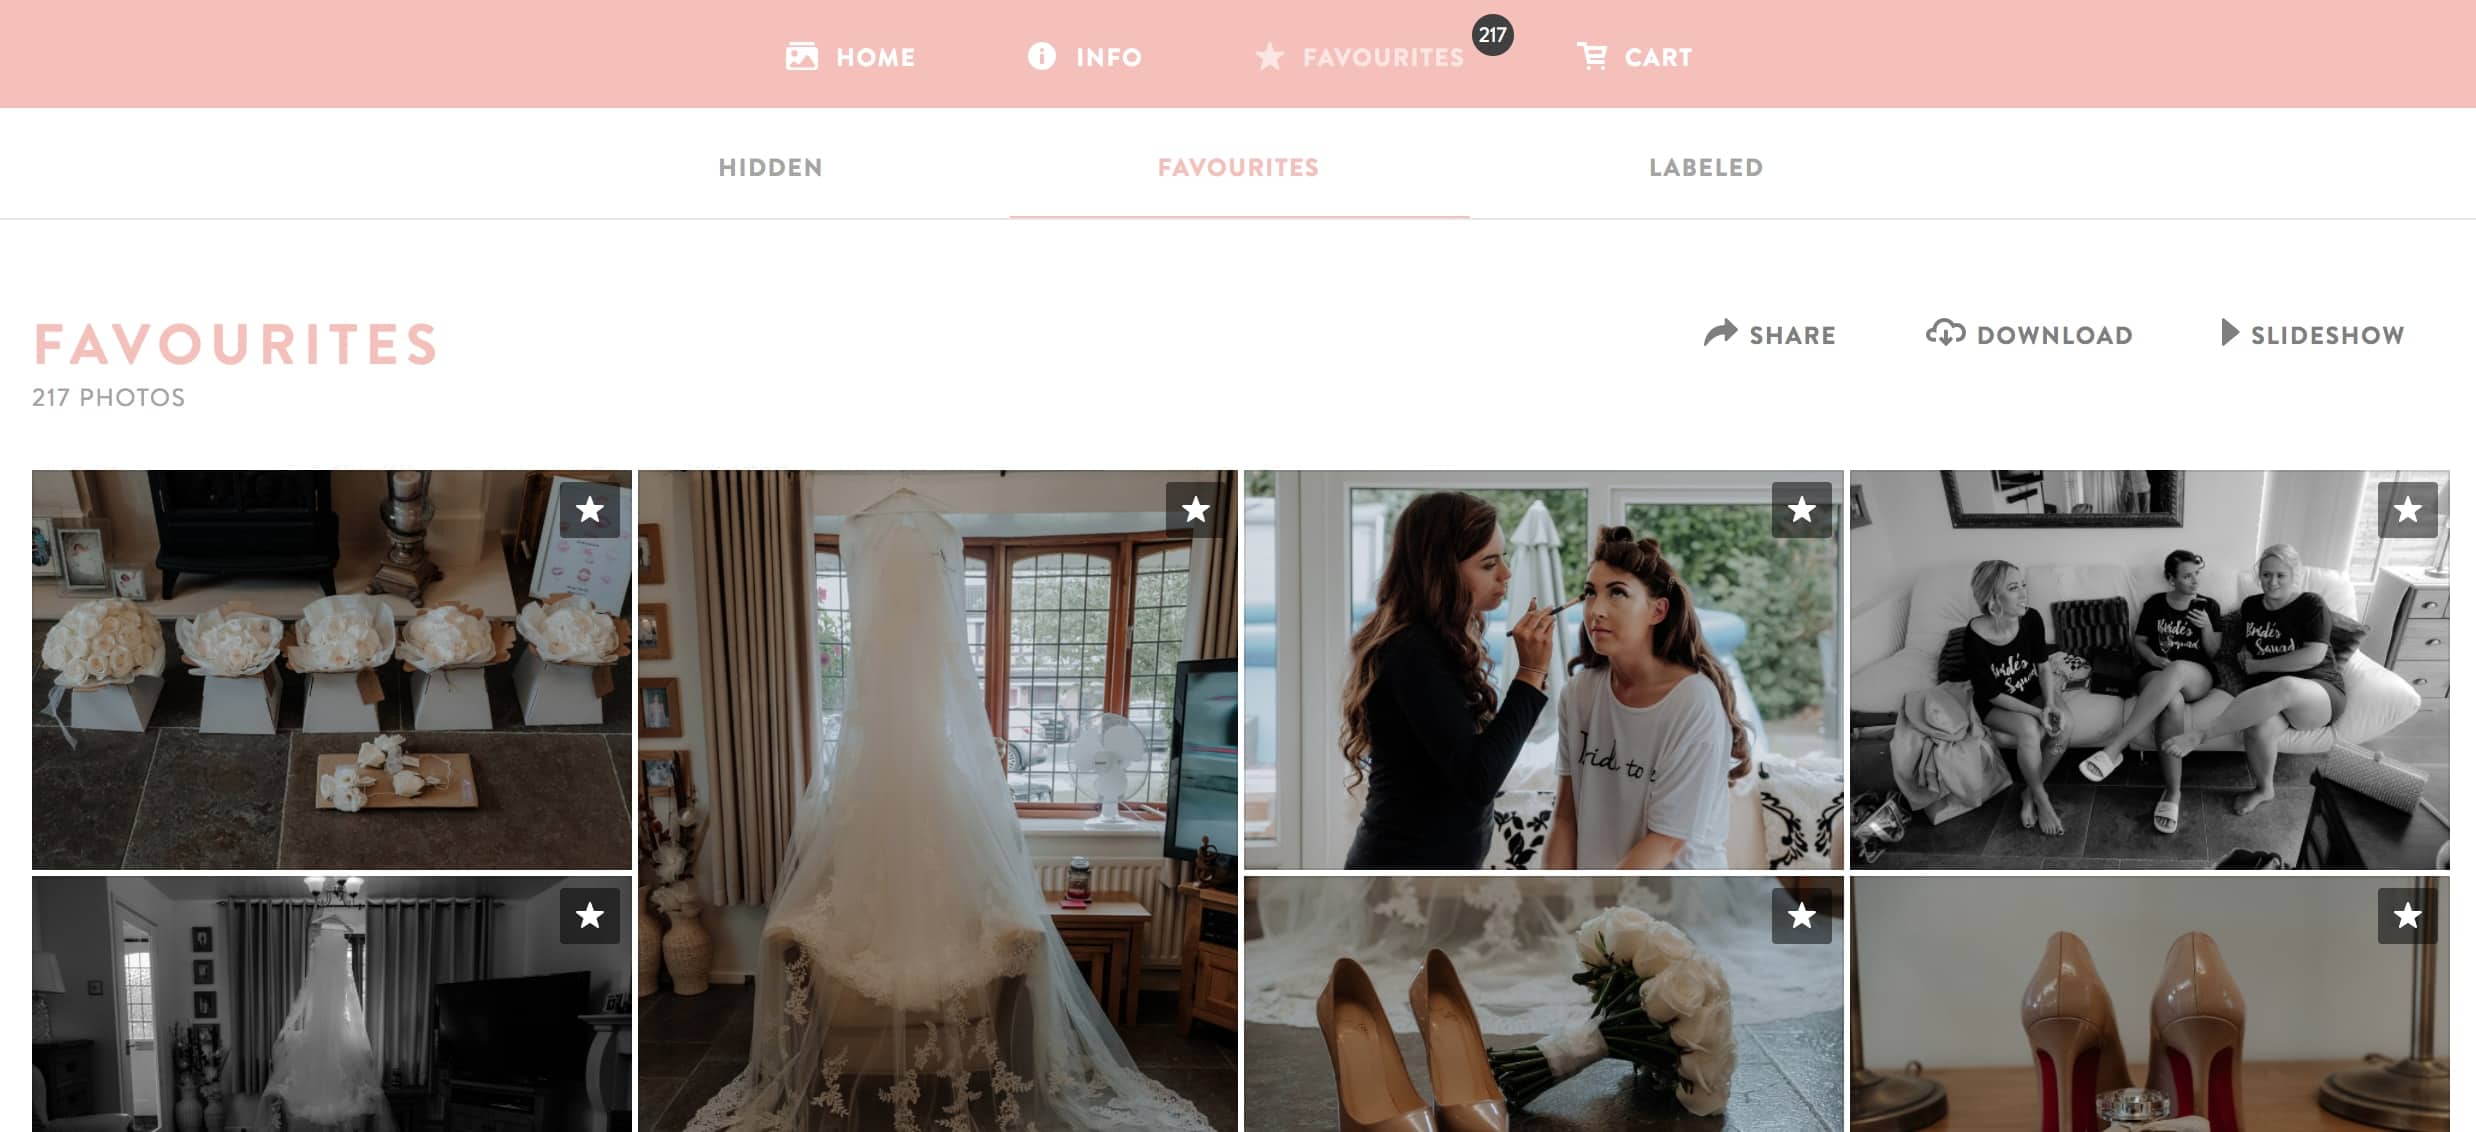
Favourite your images using the little heart icon. You can favourite as many images as you like. This helps narrow down your choices. Once you have favourited your images, you’ll see a “favourites” tab at the top of your gallery.
Step 3
Click on your favourites tab. This will bring up all the images that you have favourited so far.
Step 4
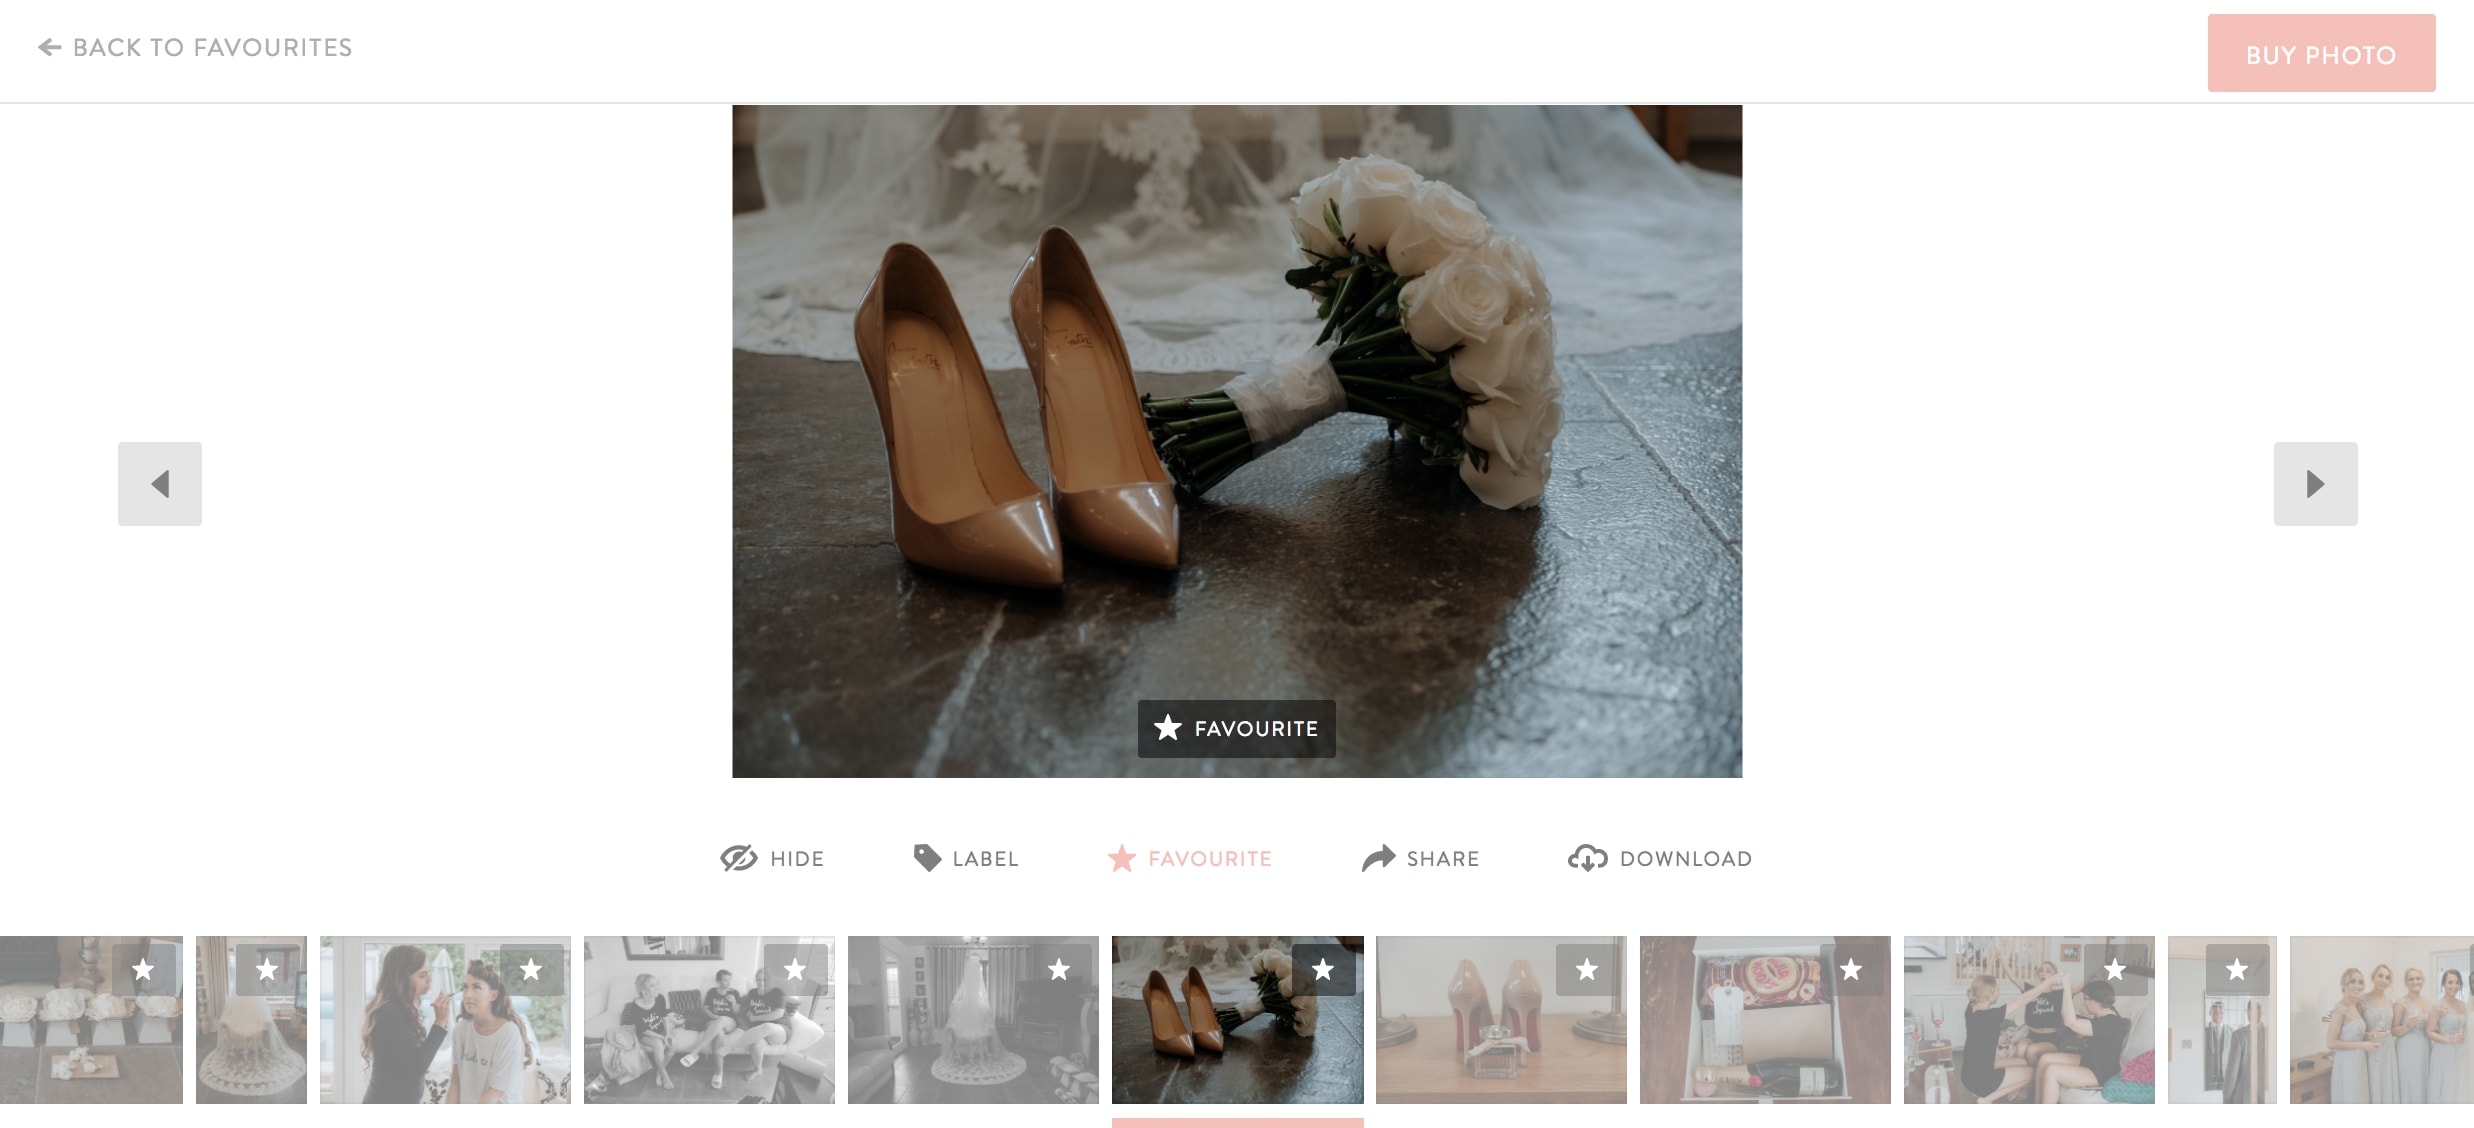
Click on the first image in your favourites section. This will open up a slider/slideshow.
Step 5
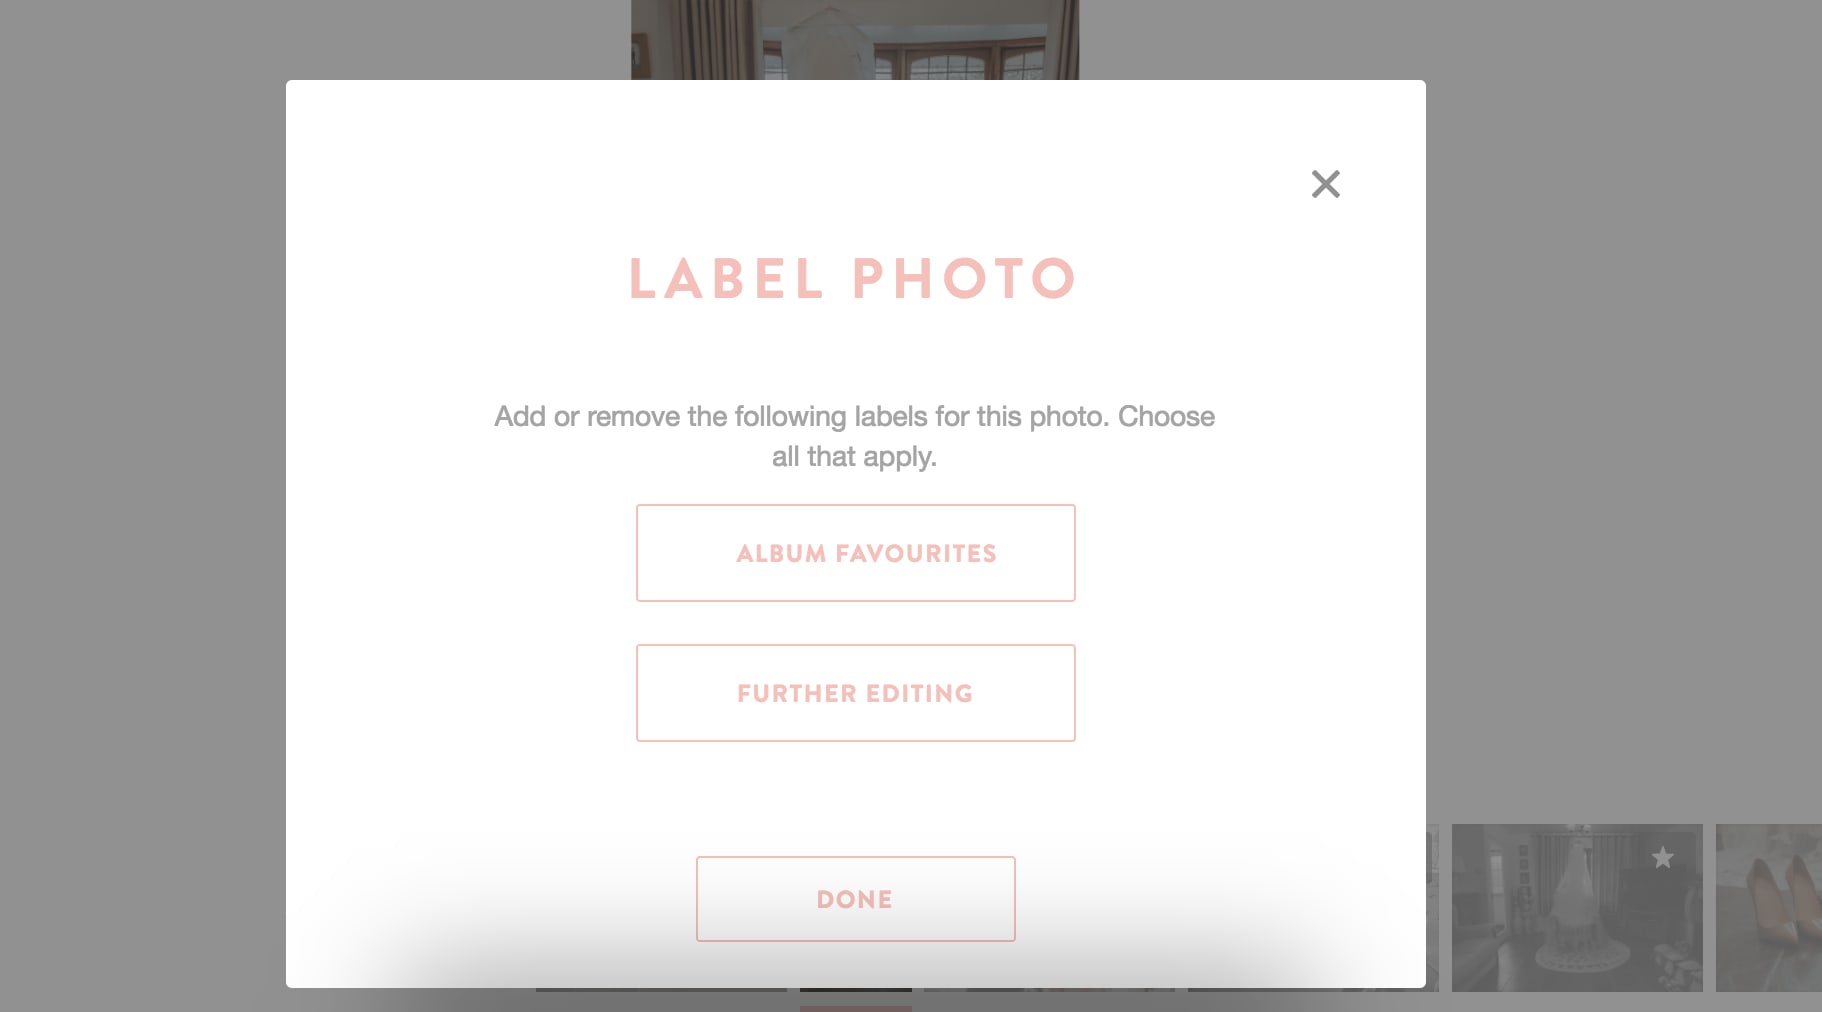
Go through the images and each one that you would like in your album mock up, click “label” below. A list of choices will appear, one of which being “album choices”
Step 6
Repeat this process until you have labeled 70-80 images. Once you’ve done this, email me and let me know that you’ve done this, and also let me know what colour and material album you would like.
Step 7
Albums take 2 weeks minimum from the date of order. Date of order is when I submit your design to the lab. Please leave plenty of time as it takes time for the album mock up to be created (3 working days from your email) as well as time for any amendments / back and forth before submission.


